


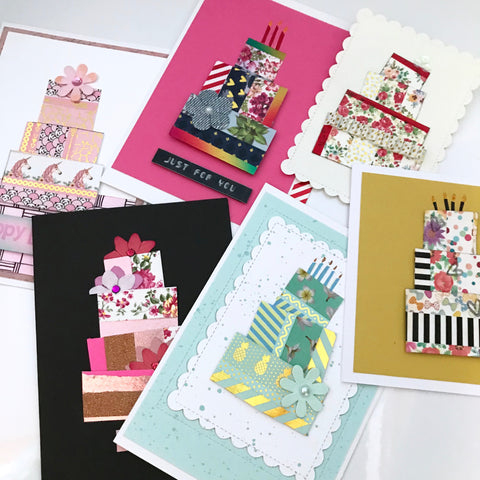
DIY! Easy Peasy Washi Tape Cake Card!
...cos who doesn't love cake?
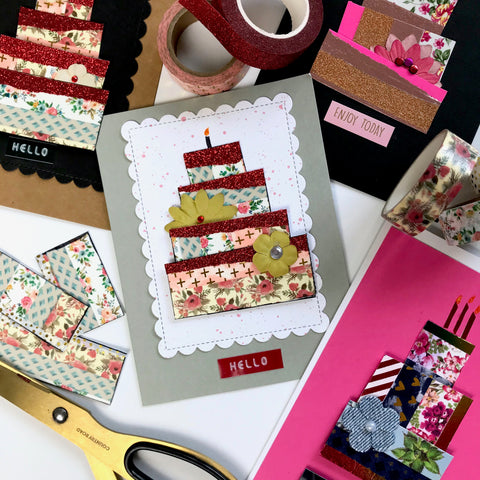

This easy Washi Tape card can be used for birthdays or weddings or any celebration involving cake. It is easy and quick to put together - so you can make a few at once.
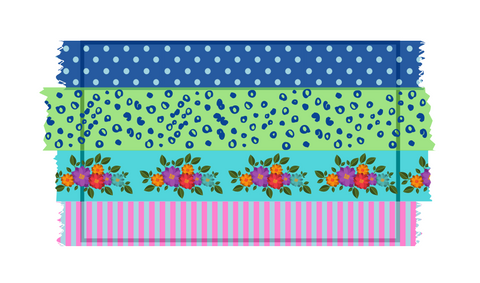
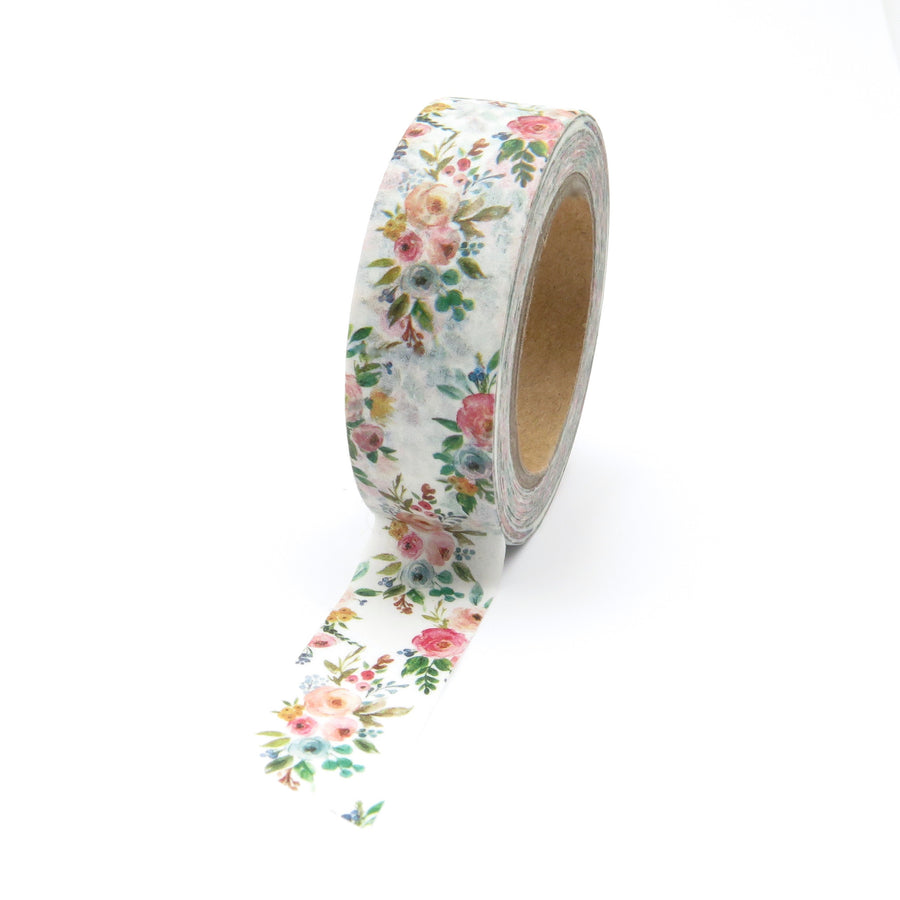
Take a rectangular piece of paper or smooth card stock and cover it with your favourite Washi tapes. A business card size is perfect. Rub your finger or a bone folder over the washi to secure it in place then trim the excess.
Make 3 cuts in your rectangle.

Cut 1 - Holding your rectangle in the landscape position cut a little more than 1/4 off.
Cut 2 - Cut the larger piece hoizontally in half.
Cut 3 - Cut approximately 1/3 off the piece left in your hand.
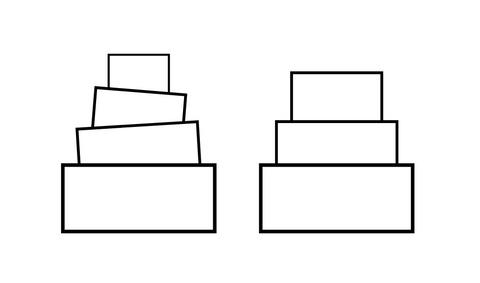
Now you can arrange your cake in tiers, you can make a four tier cake or discard one of the pieces for a 3 tier cake if you prefer.
Then adhere them onto your card base starting with the top tier and layering each piece over the previous one. It is effective to use foam tape to adhere the bottom tier to add some dimension.
Then use your imagination to decorate your cake with your favourite embellishments. Draw candles or add flowers. One of my favourite things to do is to add icing by tearing contrasting pieces of washi in half long ways and adding them to the top of each tier.
This card was designed to be irregular in shape, no need for perfect symmetry.

I would love to see yours - don't forget to tag me #hobbyhoopla


Leave a comment